- Follow us:


Thursday, August 25th, 2016

Maitland-Smith Lamps and Lighting Antique Brass, Brass Wall Lamp 1943-130 is a unique replacement for the usual painted wall.
Interior painting is no less than the most popular home improvement project in the world of interior design. This is understandable as it is an easy and affordable way to freshen up the look in rooms. Painting can also be done by family members as a weekend project as it does not require specialized training. What you need is just a little patience, some practice and a few tips.
Prep the Surface
The most successful paint jobs begin with surface preparation. This means you should sand, scrape, patch, and filling cracks, dents and holes. Basically, any surface imperfection must be solved. This is the dirtiest part of the project but it is also the most crucial. Do something wrong during this phase and something worse could come up later.
Primer Tinting
The next important step is to prime the wall. Primer can block stains from bleeding out. It also makes single coat possible as it also improves the adhesion of the paint used. Peeling and blistering could also be the result of non-priming.
There are now paints that come with primers yet nothing covers as great as a dedicated primer.
Plastic drop cloths are a cheap way of protecting furnishings and the floor from spatters. It may be wiser to invest in canvas, though. Canvas is durable and is rip-resistant. It offers a flatter layer compared to plastic which means you won’t have to worry about tripping that much.
Canvas drop cloth can be folded around doorways and corners which is another advantage compared to plastic sheets. Also, most plastic drop cloths are not reusable.
Canvas can last a lifetime.
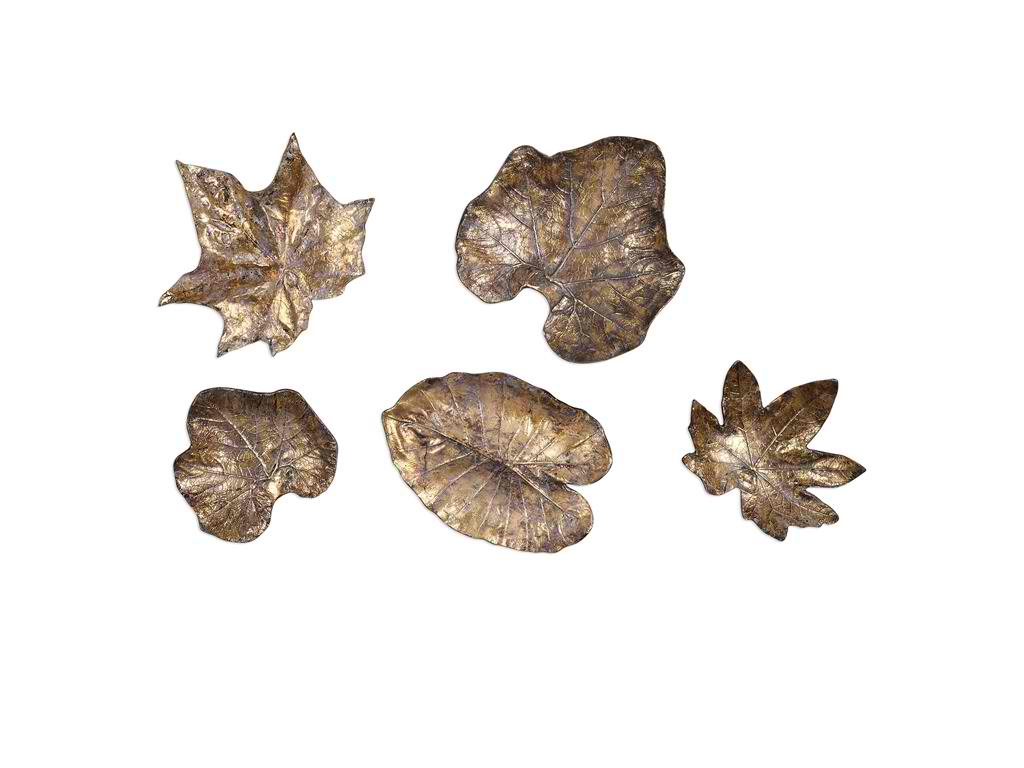
Uttermost Accessories Bronze Leaves Wall Art Set5 04063
Utilize the Paint Grid
Painting can take days so if you have more to do tomorrow, there is no need to go through brush cleaning each day. Simply roll off or brush the excess paint then wrap everything in food wrap. Double up the plastic to make sure that air is sealed out then have the roller sleeves and brushes placed inside the fridge. This should keep them fresh, avoiding paint dry up overnight. You can even store the brushes and roller sleeves for as long as a week if you are about to tackle an ambitious job.
The following day, just remove the gear from the refrigerator then use after 30 minutes.
Roll the Paint
A neater approach to rolling paint is to have it roll directly from the five-gallon bucket with the use of a paint grid. This is a rectangular plastic or metal screen that can be hooked on the rim of a bucket. Fill the bucket to about 50%, dip the roller, then roll it against the plastic or metal grid. This should remove any excess paint.
Use an Extension Pole
Get rid of the stepladder and use a telescoping extension pole instead. This comes in various lengths, with some extending as long as 18-36 feet. Longer extension poles are great in painting 8-9 foot tall ceilings.
As you shop for extension poles, make sure that you find one that has a non-slip, soft grip and a metal core. Check also that the threaded end of the extension pole is made of metal. Plastic handles may become too flexible which could make them a tad more difficult to control.
Just Paint
Lastly, what else is there left to do but to paint? Go out, find your favorite color and see if it blends well with your chosen theme. Ask your family members or friends to help out so that this project becomes easier. Shop for the tools together, plan the project together, and of course, don’t forget to have fun!
Tags: accent wall, home painting, how to paint, McCreerys, McCreerys Home Furnishings, painting, painting guidelines, painting job, painting task, painting the wall, painting tips, tips, wall color, wall painting
Posted in Accents, Accessories, Color Schemes, Interior Design 101, Interior Design Elements, Wall Design | No Comments »
Tuesday, April 19th, 2016
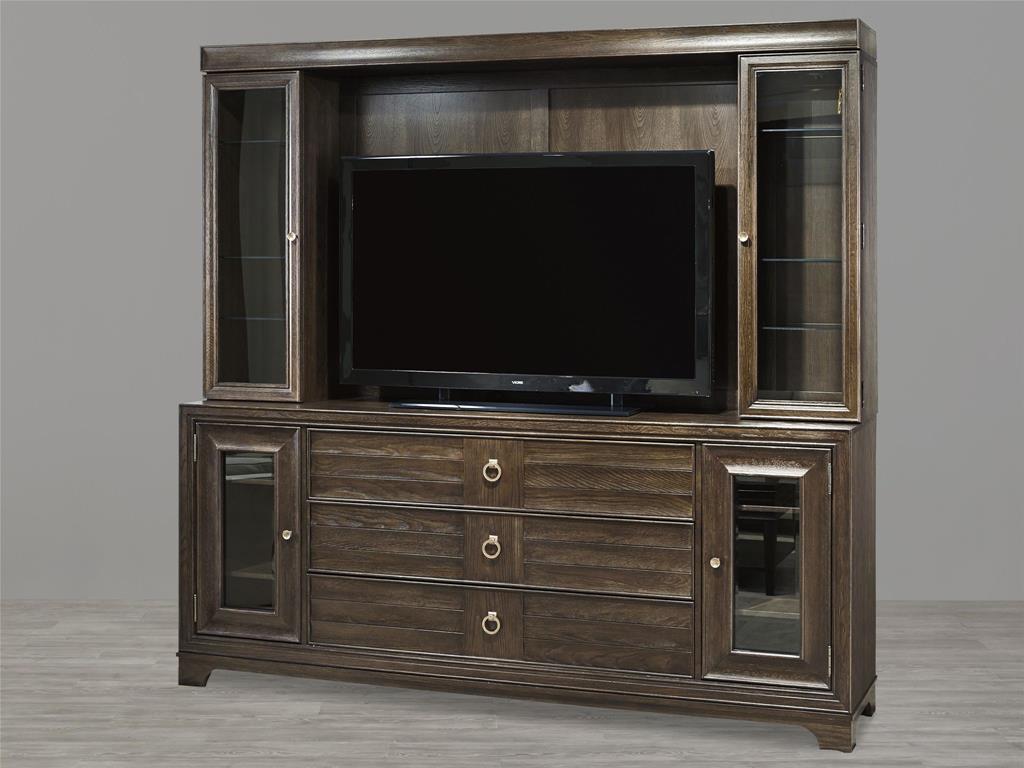
Universal Furniture Home Entertainment Entertainment Wall 475966HE is the perfect reason to take down those old wallpapers.
There would always come a time in a homeowner’s life when the wallpapers need to go. This could be because they are moving to a new home or just because the paisley or striped designs no longer create an interesting background. It could also be because a child has outgrown the cartoon-themed wallpaper in his bedroom. Whatever your reasons for taking the wallpapers down, it really doesn’t matter – what matters is that you do it correctly.
Yup, It’s Going to be Messy
There is no way to sugarcoat the difficulty of this job. Wallpaper removal is far from easy. It is messy, tedious and even time-consuming. There are no products out there that can make the whole project easier more so when you have no idea where to begin. So, yes, it is not going to be a fun job.
Taking down the wallpaper needs more time that you can imagine. It is not a task that you can finish in an hour or two. If you can, allot the entire weekend for this project. Use day one to take on the messier parts of the job then the next day to prepare the walls for the new paint or a different set of wallpapers.
Protect the Floor and Trim
This is step one of the process – tape plastic onto the baseboard. Be sure to create a watertight seal before covering with more plastic. Top the plastics with towels so that the dripping water will be absorbed later on.
Wallpaper removal is equal to sticky and wet so be sure to protect the floor, woodworks and furniture. Remove outlet covers, vents, switch plates and such. Mask the openings using tape and plastic.
Tear and Pull
Now it’s time to tear and pull down the wallpapers. Begin at a corner of the ceiling as this is the area where wallpapers tend to be loose. Lift the edges using a putty knife. Pull off the wallpaper using an even pressure. You can do this step without using water (just yet).
The backing will then be left and this is the part that you will soak with soap and water. The longer the wallpaper stayed on your walls, the more difficult it gets to take ‘em down. You may have to apply water several times for the backing to absorb more moisture. If it becomes difficult to remove the facing, then use a scoring tool.
Use Hot Water with Caution
Using a floor mop or a sponge, apply water to the backing. Use the hottest water temperature that your hands can tolerate. Allow the water to absorb into the backing by letting the application stand for 15 minutes.
It may be difficult to do this without destroying the wall surface especially when you are working with drywall. Never expose such surfaces for more than 15 minutes.
Plaster walls can take a higher level of hotness. Do the wallpaper removal in small sections.
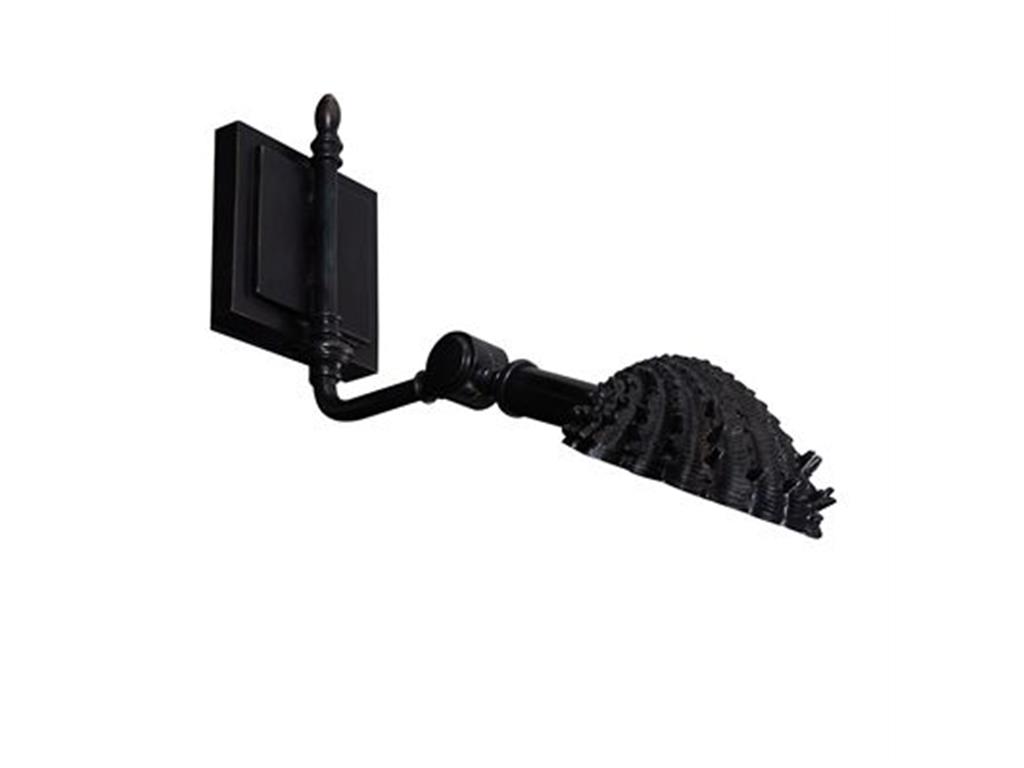
Maitland-Smith Lamps and Lighting Brass Wall Sconce 1954-353
Remove Every Paste Speck
Spray some gel stripper onto any remaining paste. There is no need to apply a lot so don’t worry about spending too much. Rinse with water till it is smooth. Using a putty knife, scrape off the glue then wash the walls using sponge and water. You can finish your work as soon as the walls become squeaky clean.
Should water and soap fail to give you that clean look, you may also consider using chemical strippers. These are wetting agents that keep the water from totally evaporating when you are removing the paste. These are enzymes that can break down the paste’s molecular structure.
Should these materials still fail, you may also consider using electric steamers. These are for stubborn cases.
Tags: how to remove wallpaper, McCreerys, McCreerys Home Furnishings, removing wallpaper, wall color, wallpaper, wallpaper design, wallpaper removal
Posted in Interior Design 101, Interior Design Elements, Wall Design | No Comments »
Sunday, January 17th, 2016
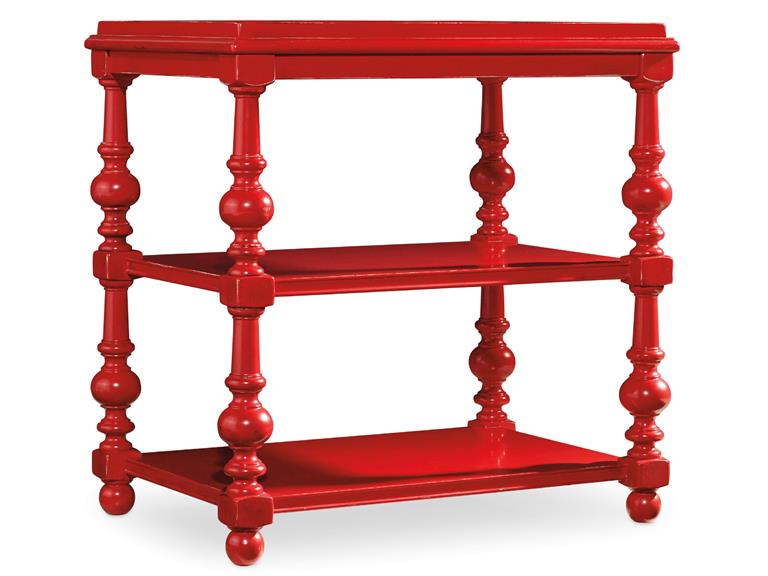
The Hooker Furniture Living Room Sanctuary Chairside Table will catch your guests’ attention if you let it stand against white or any neutral background.
You have probably seen those painting sequences on home TV shopping shows and thought that the people there looked like they were having fun. In reality, painting a home (or even just a portion of it) is far from being glamorous. You can actually exercise your organization skills and patience as you go about with this activity but, in the end, you will feel a level of satisfaction that will make you say – it’s all worth it.
The fundamentals of painting all begin with planning. As what’s always been said, always begin with the end in mind. Try to visualize your space down to the minutest details like what furniture would go with what color, what sort of accessories would blend with your chosen walls, would you use carpets or tiles, and many such details.
After planning and visualizing these things, it’s time to translate your vision into reality. You will surely be surprised to find out that your room or your entire home turned out to be quite like your visualized, ideal space.
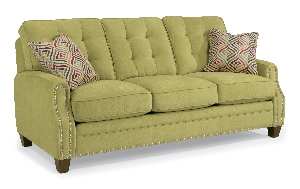
Sloan-Sofa-with-Nails-in-Fabric-917-22 is perfect for any colorful interior design theme.
Consider the Available Space
Many interior designers would agree that one of the first considerations that you have to make before you would start an interior design project is space and how much of it you can work with. The space that you’ll be able to work with validates the colors (paint) that you end up using.
Keep in mind that smaller spaces need light colors such as sand, white and cream. These light hues will give the small space an illusion of being more expansive. On the other hand, bigger spaces are like canvases for the homeowner’s imagination. You can use different hues depending on what needs to be expressed. Colors such as dark brown, navy blue, and black can lend a romantic look and feel.
Consider the Ceilings, Floors and Walls
As soon as you know how much space you can get your hands on, you also need to consider other parts of your home such as your floors, walls and ceiling. These are also parts of your huge masterpiece so they also need to be given some serious planning.
Just think of yourself as the liberal artist. Make a shortlist of all the colors that you think would make these parts of your home come to life. Do not go too crazy on the hues so that your residence remains tasteful. As much as you can, limit your color choices to just five hues.
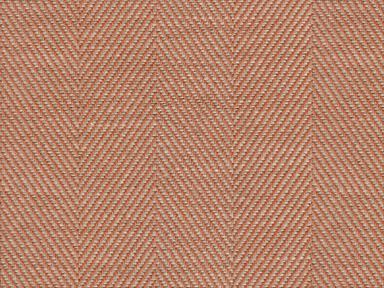
Just as you would the paint, it pays to ask for swatches when looking for the right fabric for your sofas. This orange/rust fabric comes from the Lexington cover collection available at McCreery’s Home Furnishings.
Get Color Samples
It is best to get paint swatches or samples from different paint centers. As soon as you have mixed the shades, wipe the paint swatch on a sheet of paper.
Test your chosen colors by taping the paint test swatches to the wall. See how the colors work for you visually.
At the moment, the top five designer colors are –
Light gray or ash can work as a substitute for the usual shades of white. It can effectively tone down the mood in any space while not neglecting on modernity and being sleek. Charcoal gray, meanwhile, can draw attention easily which is why it can be an effective paint on your focal wall.
White is timeless and it can efficiently frame any interior. Just make sure that you choose white carefully because it can become glaring.
Orange is a warm color that works best with metallic hues such as gold and copper. It is also the perfect color for autumn-inspired interiors.
Green reminds us of nature, freshness and going organic. This hue can make any space feel more fresh and relaxing. It can also blend well with other neutral colors.
Lastly, neutral paints can suit any style. They are easy to maintain and can become the primary color to an exciting accent color which you would later add.
Tags: accent color, adding colors to a home, colors, designer colors, designer paint, floor color, guidelines, home paint, McCreerys, McCreerys Home Furnishings, neutral paint, neutrals, paint, paint colors, painting, tips, wall color, wall paint
Posted in Color Schemes, Interior Design 101, Interior Design Elements, Interior Design Themes | No Comments »
Follow us on our social media
© McCreery's Home Furnishings | All Rights Reserved | Privacy Policy