- Follow us:


Monday, October 24th, 2016
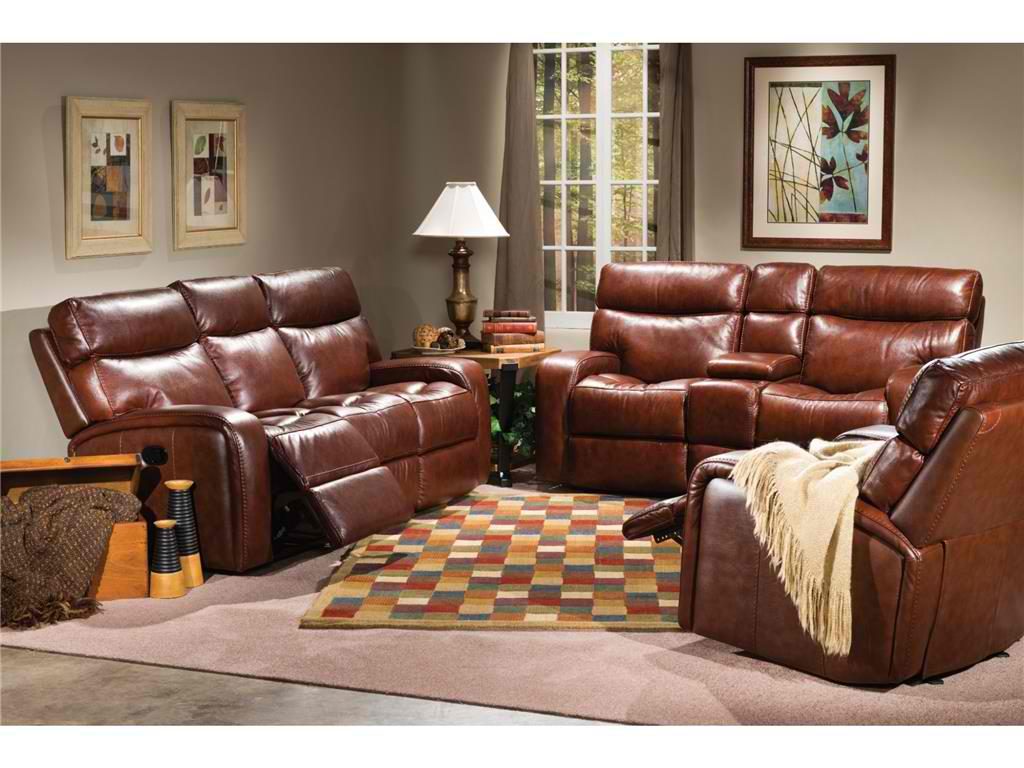
Flexsteel Living Room Power Reclining Loveseat With Console 1129-604P spells relaxation supreme.
Your home – not just your office space – needs to be comfortable if you ever want it to be a place of productivity as well as relaxation. Yet, more often than not, homes don’t spend a lot of time planning for ergonomics and the homeowners’ well-being. For those who set up home offices, they’d blended home and work lives and ended up sitting down more than ever.
Furniture is often the kind that is suitable for every need. This one-size-fits-all concept is no longer applicable if you take into consideration such factors as height and weight. Most standard chairs and tables have been found to be too high for a lot of men and women. Also, computer monitors have been seen to sit too low for anyone’s comfort.
When these issues are not addressed, they could lead to back injuries and strains, and could even affect moods and productivity.
Ergonomics: A Simple Solution
One obvious solution is to make furniture that would take the shape of your body so that comfort is provided. This furniture piece must be able to provide support for your lower back during prolonged sitting. The chair must also be able to relieve pressure on the knees.
In essence, ergonomics means the furniture adjusts to your body’s natural, motor movements.
Ergonomic Chair – Saying Goodbye to Stress
Sitting is one position that can add stress to the human spine. If you don’t want to develop back problems, then it’s high time that you find an ergonomic sofa or chair that will be able to support your lower back.
Ergonomic chairs evoke good posture which decreases stress on your lumbar area. While sitting may be effortless compared to walking or standing, it still puts stress on your spinal region and when combined with a sedentary lifestyle, you could end up with a lot of health issues.
Picking the correct chair is a crucial step in the prevention of health problems. This becomes more important if your work involves sitting rather than moving about.
Ergonomic sofas and chairs also allow the users to sit in a well-balanced position.
In a nutshell, remember these features when buying ergonomic seats – seat height, width and depth, backrest, lumbar support, arm rests, swivel, seat material, and stability.
Ergonomic Computer Workstation – Station That Fits Workers
Any ergonomic computer workstation has furniture, tools and equipment that all work to fit the worker. This means furniture that was designed to maximize comfort without forgetting productivity. Ergonomics, after all, is all about the prevention of repetitive strain and injuries.
To set up an ergonomic workstation, you need to buy an ergonomic desk. This has to be a sturdy work surface that would never wobble. It must have ample room for the computer monitor (or laptop), keyboard, mouse, and some office supplies. Remember that the monitor must be placed at arm’s length from the body.
Remember also that your legs must be able to slide comfortably under the desk.
An ergonomic computer chair is one that allows your knees to be at a 90-degree angle when you are seated. For people with shorter height, you need to have an adjustable chair or at least a foot rest.
Ergonomic adjustable chairs are useful in ensuring the best viewing distance for computer monitor use. They also provide back support while relieving back strain.
Another wonder that you should add to your computer workstation is a typing stand. This can be positioned at the side of your computer so it can assist you when you type documents. Putting the document at eye level prevents you from looking up and down and straining your neck in the process.
Invest also on wrist rests and computer monitor filter.
Tags: ergonomic chair, ergonomic couch, ergonomic design, ergonomic furniture design, ergonomic sofa, ergonomics, McCreerys, McCreerys Home Furnishings
Posted in Furniture, Interior Design 101 | No Comments »
Monday, October 24th, 2016
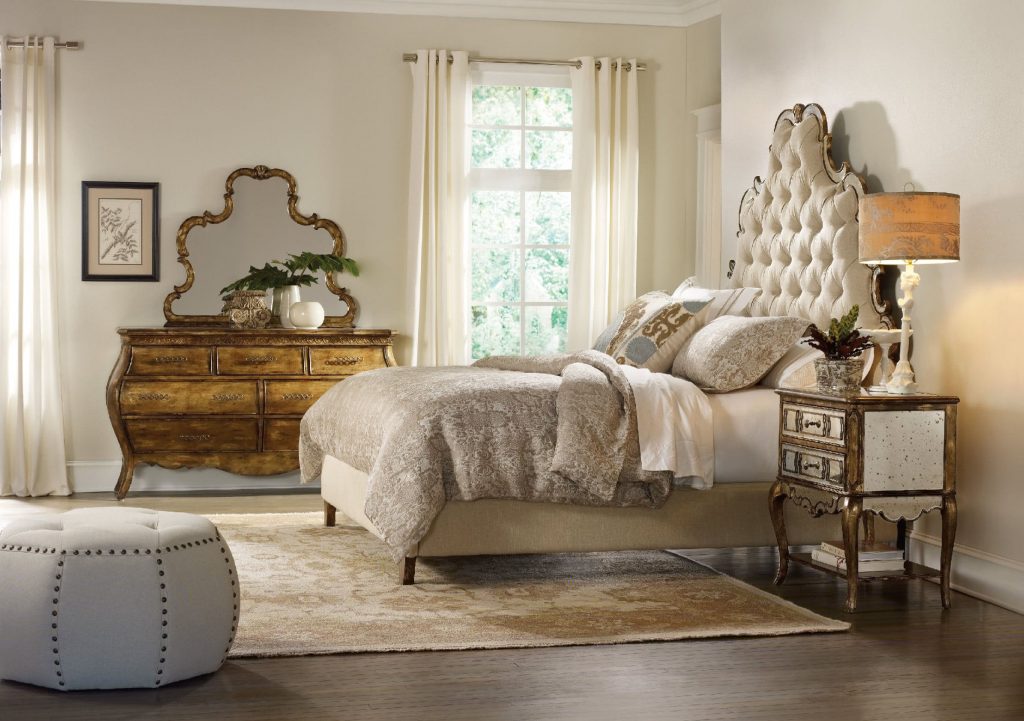
Hooker Furniture Bedroom Sanctuary King Tufted Bed – Bling: Tufting is an effective means of muffling some sounds.
Noise is one of those things that most homeowners fail to plan against. You may live in a small apartment or a bigger bungalow but noise will always be a concern unless you finally address it. Soundproofing your home effectively means less to zero irritation and peace being restored.
Soundproofing means you have to decide now as to what lengths you are willing to go through especially since this project is costly.
Always begin soundproofing projects with research. You have to understand how sound works first so that you know what sort of insulation you will need to use.
Understand How Sound Works
What is noise?
This is that unwanted sound ranging from dripping water to the shrill voice of your neighbor. Conventional ceilings, floors and walls are just marginally effective – at best. They are even built like drums since they come with membranes (e.g. drywall).
Sound waves land on one surface then carry through the framework or the air to another surface. This is audible noise. The thinner the wall, the easier it is for you to hear the sound traveling from one area to the next.
Identify Your Noise Problems
You will need the help of experts if your noise problems are severe. Common solutions include secondary ceilings, walls and floors.
Moderate to annoying noise problems, on the other hand, can be solved by installing additional components on walls, floors and ceilings. These can be one or more of the following – soundproofing mats, acoustic quilts, acoustic mineral wool, acoustic carpet underlay, and resilient bars.
Manageable noise problems such as TV noise, street traffic, barking dogs and snoring could be easily solved by having thicker carpets, rugs, wall hangings, and interlined curtains. Using fabric on walls and the ceiling means using faux suede and wool. Wall padding should be used to up the soundproofing properties of your home. Don’t try to do this project on your own, though, since this needs to be carried out by an expert in fabric walling.
Bedroom soundproofing is as easy as having bigger wardrobes in solid wood. Make sure the sealing is done properly so that noise is effectively cut down.
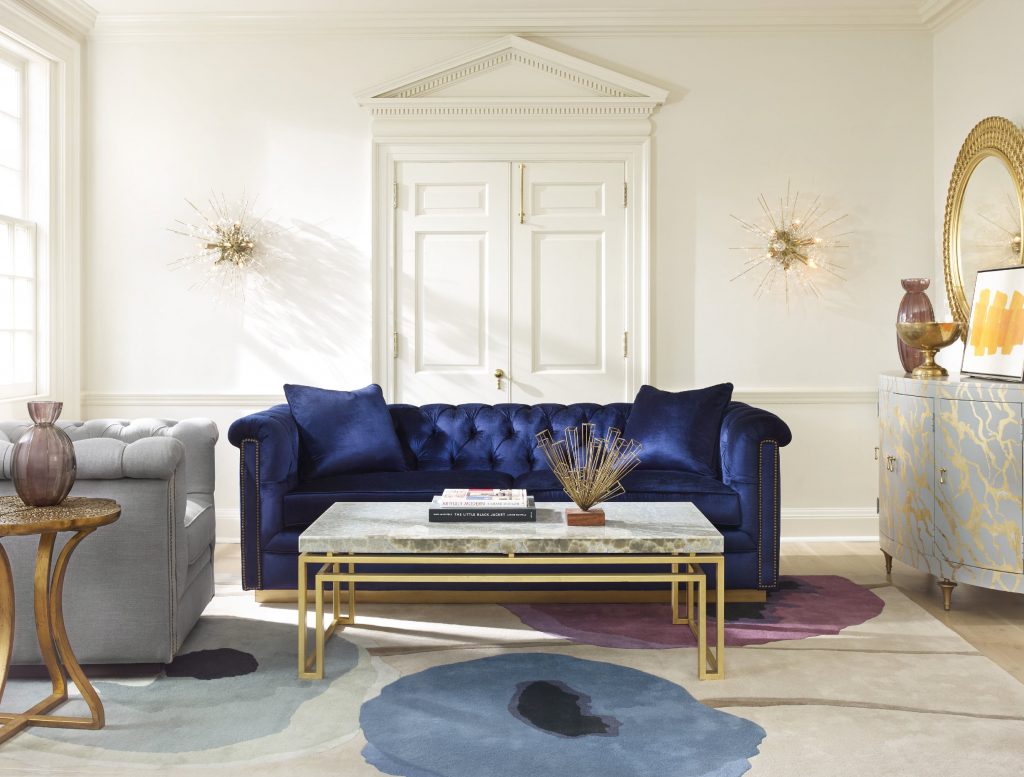
Cynthia Rowley for Hooker Furniture Living Room Wallis 2 Cushion Sofa
Buy Less Noisy Appliances
Opt for appliances that are quieter. Manufacturers are aware of the noise problem brought about by dishwashers and washing machines and so they have come up with newer versions that are almost if not totally quiet.
If it’s not possible to invest in new appliance at the moment, then be sure to check on buzzing, rattling or vibrating sounds before they get worse. Get the appliance fixed once you hear an unusual noise.
Use Sound Absorbers
Since you now know that hard surfaces tend to reflect sound waves, then the opposite absorbs them. Use soft surfaces to absorb the sound waves. Materials that would best control the sounds in a room are acoustic materials, padded carpets and rugs. Say no to laminates, hardwood flooring and tiles.
Look for companies that offer a wide range of acoustic ceiling, wall and flooring materials. There are now acoustic tiles as well as drop-ceiling systems that offer acoustic properties. Traditional to contemporary styles are available.
This means you can now, say, block noise coming from the basement and prevent it from going up the upper floors of your home.
Say Yes to Sound-Blocking Door
Keep noise from moving from one room to another by installing solid doors. Interiors doors are often hollow and you know how easily noise can get through those. Now, you can limit the noise by having solid doors installed since these are effective sound barriers.
If you want to go further on your soundproofing task, then check all around your door, too. You can also install weather-stripping so that you could seal the door. Foam tape should do the trick.
Tags: McCreerys, McCreerys Home Furnishings, soundproofing, soundproofing homes, tips
Posted in Home Maintenance, Interior Design 101, Wall Design | No Comments »
Saturday, October 22nd, 2016

Capel Incorporated Floor Coverings Botanical Rug 0609CS Poinsettia: The mood of the upcoming holidays shouldn’t just be reflected by your lights but also by all other design elements in your home.
What common complaint do you hear when the holidays are fast approaching? Most people say it’s too early to think of Christmas. Halloween and Thanksgiving are just around the corner so it is that time of the year when signs of Christmas begin to show up.
Shops are now slowly planning their Christmas décor (if they haven’t yet changed their display windows). This is a move to increase their holiday profits. But let’s not think from a retailer’s standpoint.
As a homeowner, how can you best show that you are prepping for Christmas?
Outdoor Christmas Lights Installed
It is estimated by a 2013 poll by TellWut that about 28-percent of Americans wait until December before they put up their Christmas lights. About the same number believes otherwise; to the second group, it is okay to hang the lights earlier than December. About a third of the poll chose to not hang any lights at all.
Holiday light installation can be a tradition that your family can look forward to every year. The sad news is that a lot of homeowners get hurt because they don’t do the installation properly. Remember that there are safety precautions if you want to hang holiday lighting without getting hurt.
There are recommended tools that are used for holiday lighting setup. Just like any home improvement task, there are certain tools that can help you do the job easier. Here are such tools –
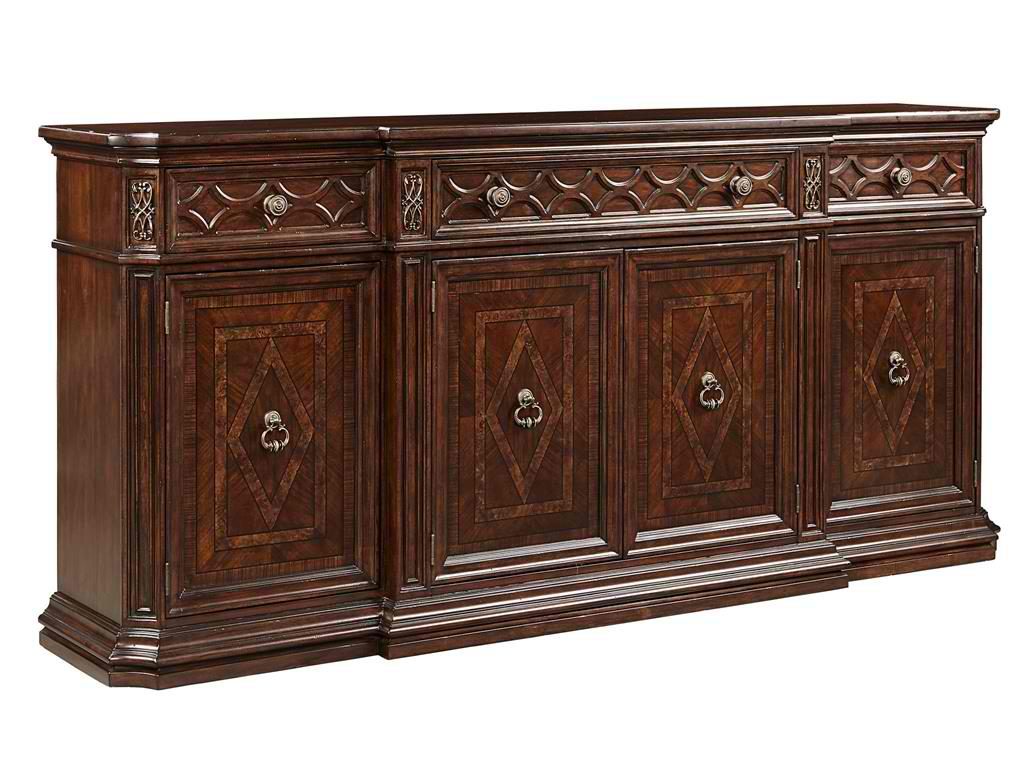
Put this Stanley Furniture Dining Room Buffet 443-11-05 to good use this coming holiday season.
Guidelines in Choosing Lighting Materials
Lighting materials can be purchased in many home depot and hardware shops in your locality. Prior to spending, though, be sure to make a careful inventory of the materials that you already have. See if there are still some Christmas lights that you can reuse from the last holidays. If they are already cracked or chipped, then don’t even think about using them anymore.
Test the lights before you pay for them. Make sure also that you know how many lights you actually need before you purchase. Also, be sure to buy outdoor lights and not the indoor types. The latter won’t hold up to the outdoor elements like snow or rain. They could also start a fire when they blow a fuse.
Ask for a three-pronged extension cord for your outdoor lighting use. This is a safer bet for all your Christmas lighting needs. Be sure to plug it into a GFCI outlet so that you won’t have to worry about short circuits.
Let’s Hang Those Holiday Lights
Be sure to follow the safety tips above if you want to hang your Christmas lights without any problems. Use light clips as much as possible, even gutter hooks. Remember that roof repairs can become costly so make sure that you minimize wearing and tearing. If you do use nails, just be sure to attach them first to a fascia board.
Use a ladder that is stable when opened. Just to be safe, have a friend hold the ladder as you install the lights. Never place the ladder on water or ice.
If you decide to use hooks, be sure to use gutter hooks. Never carry all of the materials that you need to the roof all at once. Just take it slowly. Have three or four feet distance between hooks. Have a friend hand you the lights then slowly hang them on the hooks.
As soon as every piece of light is in place, be sure to check that there are no burned out bulbs. The electrical wires must also be kept away from high-traffic areas and all lights unplugged when you’re not home or when you’re asleep.
Tags: ambient lighting, Christmas lights, hanging holiday lights, holiday light installation, holiday lighting, holiday lights, installing holiday lights, interior lighting, lighting fixture, lighting plan, McCreerys, McCreerys Home Furnishings
Posted in Accents, Accessories, Interior Design 101, Interior Design Elements, Lighting | No Comments »
Friday, October 21st, 2016
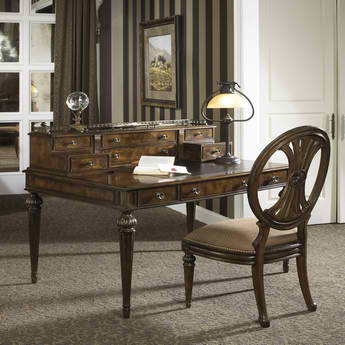
FFDM Belvedere Collection
One of the biggest problems that remote workers say about working in a home office is being less productive. If you happen to be working in one right now, what should you do to optimize productivity and not fall in the same dilemma as many others complain about?
Managers worry so much about work productivity but now that you’re your own boss, it’s your time to worry. With you, it becomes doubly difficult to be more productive because chores beckon and the kitchen always offers the aroma of your spouse’s home-cooked meals. These are distractions that you need to fight against – and fast.
So, if you want to have more work hours added to your current work routine, here’s what you should do –
Structure Your Work Day
Productivity is a huge concern for you now so you need to look on how you structure your time for work. If you have to use certain tools that will make your work routine more productive, then do so.
Syncing your work with your tablet and smart phone would do you good. Doing so will help you make good use of your time.
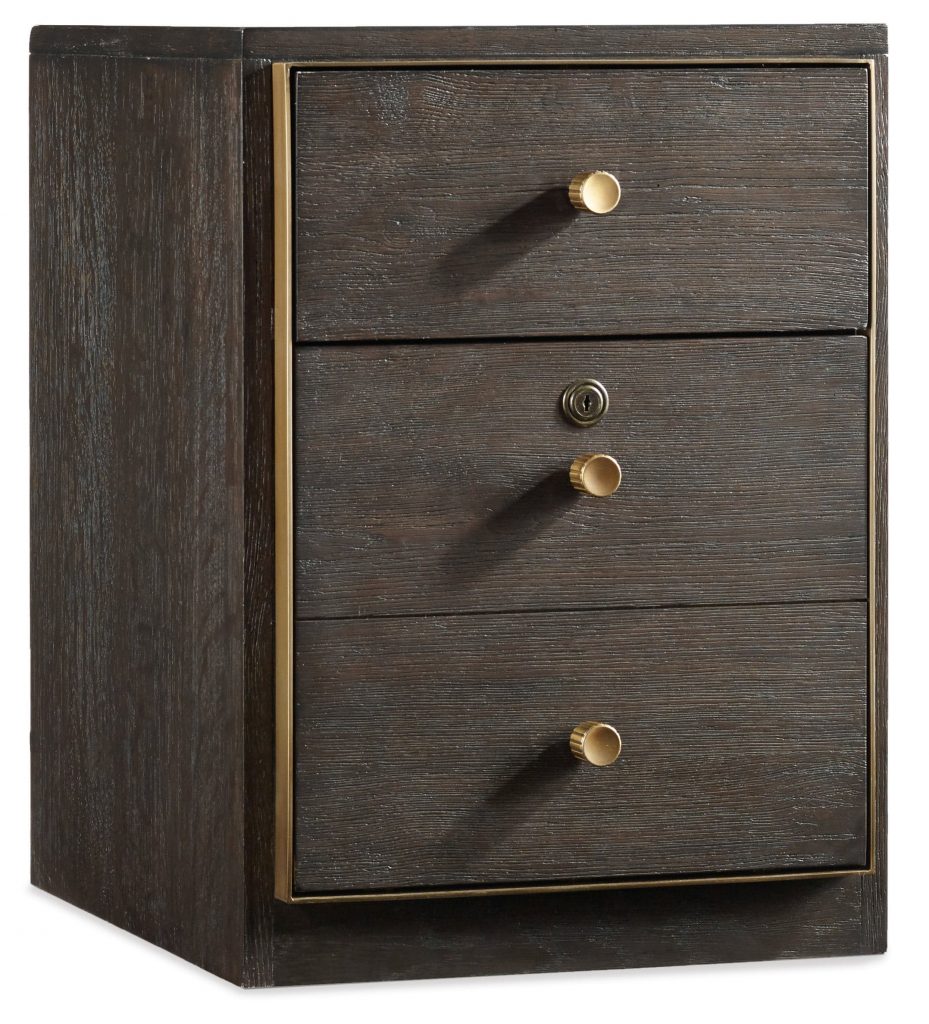
Hooker Furniture Home Office Curata Mobile File
Stylize Your Home Office
A wonderful way to create a place that would make you want to go to work is to stylize it. Don’t worry too much about rules and stuff that tell you which to put and which not to put inside your cubicle. Giving your home office a little character should prod you to go to work, hence, you spend more time in the office, and you end up being more productive.
Be sure to focus on the benefits of working from home. Decorate to inspire productivity. Remember, while decorating, that you will conduct business in that cubicle. Also, you would not want to hang any distracting photos or posters right on the area where you will hold your video conferences.
Design your home office smartly. Use wall art but make sure that they are there to be seen by prospective clients and not as distraction.
Pick a Practical Desk Size
Remember that the desk has to suit the job that you are going to do in your home office. If you believe that you are going to be doing a lot of paperwork, then you definitely need a larger desk. A big desk, though, invites distractions in many forms but it can also offer additional surface area for your picture frames. Your family photos should motivate you to become more productive.
Be sure to buy a basic desk that meets the ergonomic standards. An ergonomically-designed chair will help prevent injuries, making your back feel optimal all the time.
The right desk can also offer more storage solutions for that extra stack of papers.
Safety Is Key
Remember that you will be using a lot of electronic devices in your home office so it would be best to fuse safety with the décor. A lot of home offices are cozy spaces with a lot of cords that are exposed. These are tripping hazards that you need to get rid of. You can place these cords right behind the office cabinets or have them wrapped then attached to the legs of the desk or table.
Never, ever hide cables underneath an area rug or the carpeting. This is a fire hazard especially when the cords are already damaged or frayed.
Use Correct Lighting
Inspiring productivity in your office means you have to install proper lighting. Most people who work in home offices tend to spend more time working so it would be best to have correct lighting installed from the onset.
Your lighting needs should meet your comfort as well as productivity requirements. Use natural light as much as possible.
Tags: home office, home office desk, home office productivity, home office style, lighting interiors, McCreerys, McCreerys Home Furnishings, office furniture, office space layout, productivity in a home office
Posted in Home Office Design, Interior Design 101, Interior Design Themes | No Comments »
Thursday, October 20th, 2016
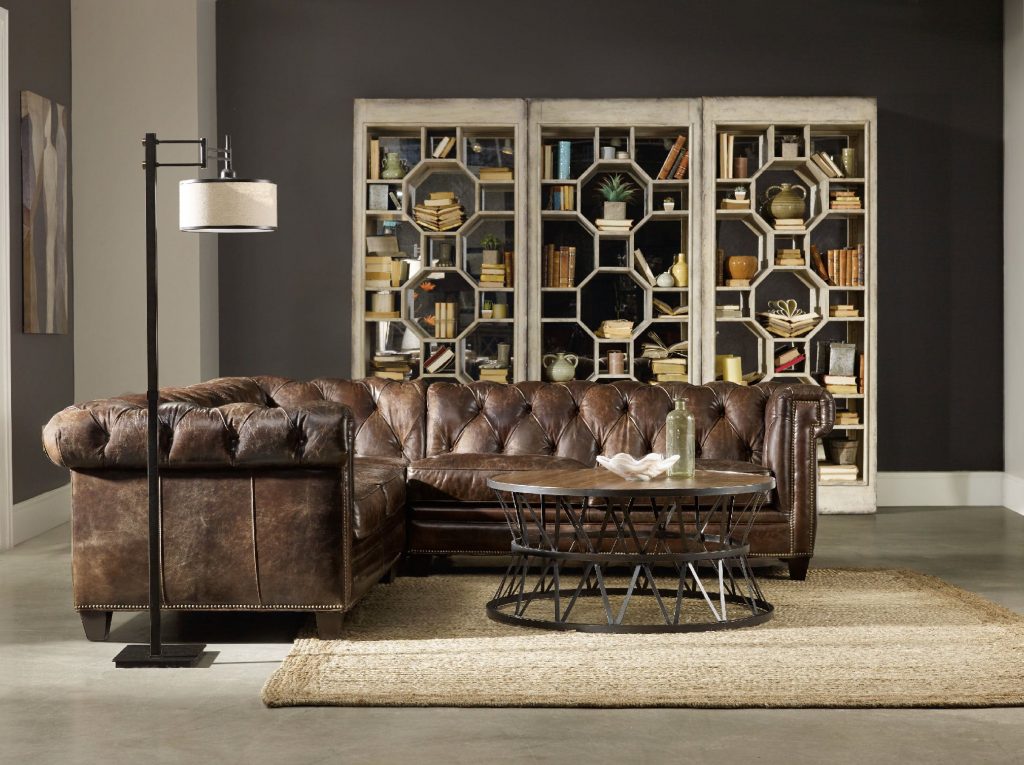
Hooker Furniture Living Room Imperial Regal 3-Piece Stationary Sectional
Have you reached a point in your life when you now that you simply gotta add space in your home? Would like to have a bigger bathroom so that you can relax and enjoy a bubbly bath after a long day at work? Others would like to add a kitchen that’s cozy enough to hold a breakfast nook. Whatever your reasons for adding extra space, you need to stop and consider a few things first. Remember that home additions can become invasive to your current lifestyle.
Defining Micro-Addition
This is also referred to as the bump out. It is a versatile extension that can become a valuable part of your home. It may be a small expansion but this is usable living space that can be converted into any room that you desire.
There is no need to lay a different foundation when making a micro-addition. This costs less than the usual home addition which is why more and more homeowners are resorting to this.
Micro-additions can give your home dramatic results by adding a few feet to the current room. This is different from adding another room to your home because micro-addition covers less space yet, still, it improves your home in so many ways.
Micro-Addition Benefits
A huge benefit that you can get out of micro-addition is the cost. Traditional construction for another room means you need to have more updates like an HVAC. Your project becomes more expensive when you’d need new outlets because an electrician would have to take care of it for you.
Bump-outs often don’t use the current roof but are given their flat roof. This eliminates the cost for the roof extension. You still get to save, though, because you are just expanding the room, not creating another one. That additional living space will also add to your ROI should you decide to sell your property.
One other benefit is that micro-additions are not as invasive in your home. You could be asked to stay away for a while when you need to add an entirely new room. Of course, there’s that concern about debris and dust getting into all rooms of the house.
Micro-addition will also have but a minimal impact on the exterior of your home. It becomes easier to blend with the current design at a more limited amount of time.
Probable Additions
A small bathroom will benefit from micro-addition. You can add a tub or a new shower in that extra space.
As for the kitchen, it would be wise to add some more space when you want a breakfast nook right by the corner where the sun usually shines during the morning.
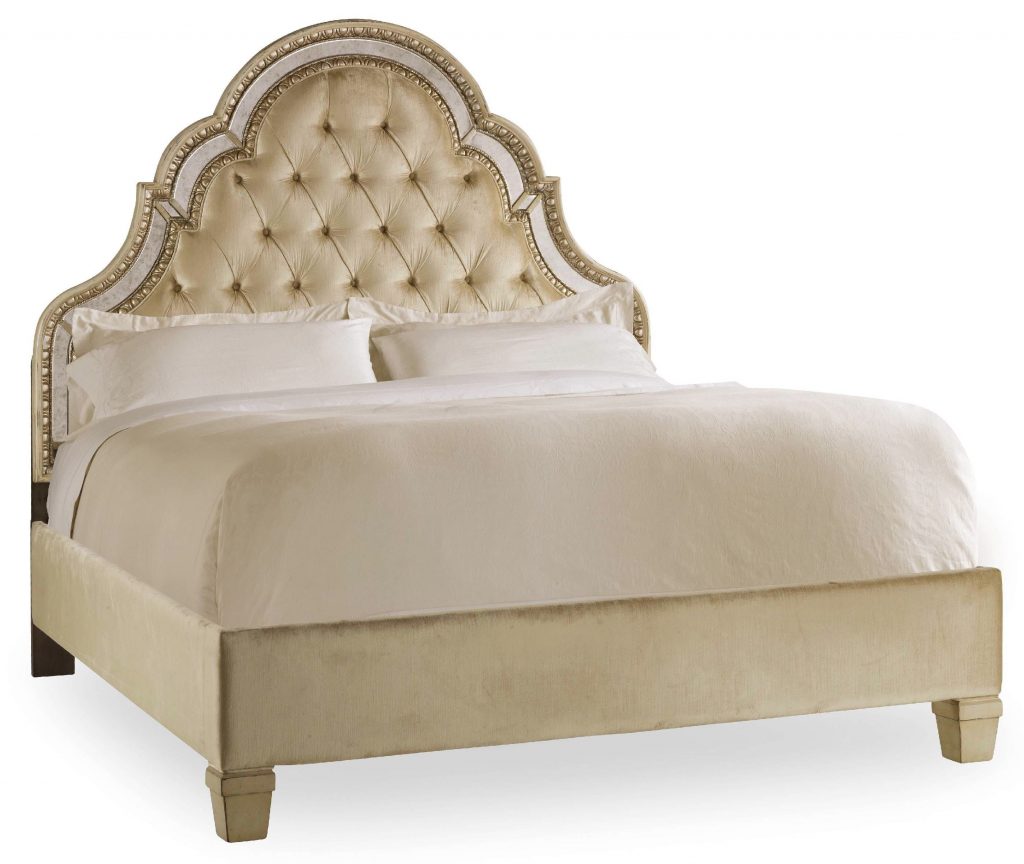
Hooker Furniture Bedroom Sanctuary King Tufted Bed-Pearl Essence
Living room micro-addition can be transitioned into a home office or a small entertainment area. As for the bedroom, this could serve as a his and hers closet or a walk-in closet for all your accessories.
Addition Costs
Once everything is considered, cost is a factor that you seriously need to think about. The average room addition cost is valued at $36,328. For micro-additions, this cost is sure to become lower. Think also about the cost of permits, plumbing and electrical works if needed.
Think if you would need a micro-addition or an additional room. Whether your needs are large or small, this could be the time for an addition. Rather than spend more by moving into a larger home, why not evaluate the cost for a small addition? Make sure that you research all of your options then plan.
Micro-addition could be the greatest solution that could save you thousands of dollars. It is an investment that you would surely appreciate.
Tags: McCreerys, McCreerys Home Furnishings, micro-addition, room addition, small addition, tips
Posted in Bedroom Design, Dining Room Design, Interior Design 101, Kitchen Design, Living Room Design, Office Design | No Comments »
Thursday, October 20th, 2016

Uttermost Accessories Mela, Tall Vase 19317 will surely add the needed charm by the doorstep.
Front doors are easily the focal point of any home. Just like the entryway, its design as well as décor could either turn off or welcome the guests to your home. You may not have seen this in its entirety before but altering the visual impact of your door is as easy as freshening it up with new paint or décor.
The secret to finding the right color for your front door is to know your personal style. There are a lot of choices that can offer you the look that you want. Here are some tips –
Paint the Door Differently
Prior to picking out the right color for the front door, you might want to plan first. You wouldn’t want to have any surprises as you work on this project.
When you paint, be sure to take the door completely out of its frame. Find a paint and primer that would provide the professional look that you want. You wouldn’t want the door to look like it was finished by a grade schooler.
You could consider hiring a professional if you think you can’t achieve the look that you desire. Just so you know, the average cost for a professional paint job that is this small is about $585.
Colors that you could consider include deep red, turquoise, black, any shade of green, lilac, orange or yellow.
Red is the best classic option especially in a gray or brick house. This is a warm color that also goes well with a white-colored home. If you want to achieve the farmhouse appeal, then this is a trendy paint that you should invest in right now.
Turquoise is another hot color that you might want to consider. It is a color that works best with gray or white homes. It would surely show a pop of color so make sure that you don’t go overboard.
Black is a contemporary color that can also suit any design. If the décor that you chose leans on the modern style, then just update your door with this color plus some hardware to match.
Silver and black look great together.
Any shade of green is a welcoming sight. It evokes feelings of hospitality which is great if you have this exact same personality. Green is a flamboyant color yet it can also be warm. Visitors will surely feel welcome once they step through your green door. A darker shade of green would look good in a brick house. Lighter hues, on the other hand, should be paired with white or cream homes.
Lilac is something that you should consider if you’re not ready for bright red. This pastel color is a good place to begin when it comes to creating a unique door.
One of the friendliest colors that you can use in your home is yellow. This can easily eliminate any negative feelings in your home.
Rusty orange, on the other hand, is a warm color that will look inviting when used on your door.
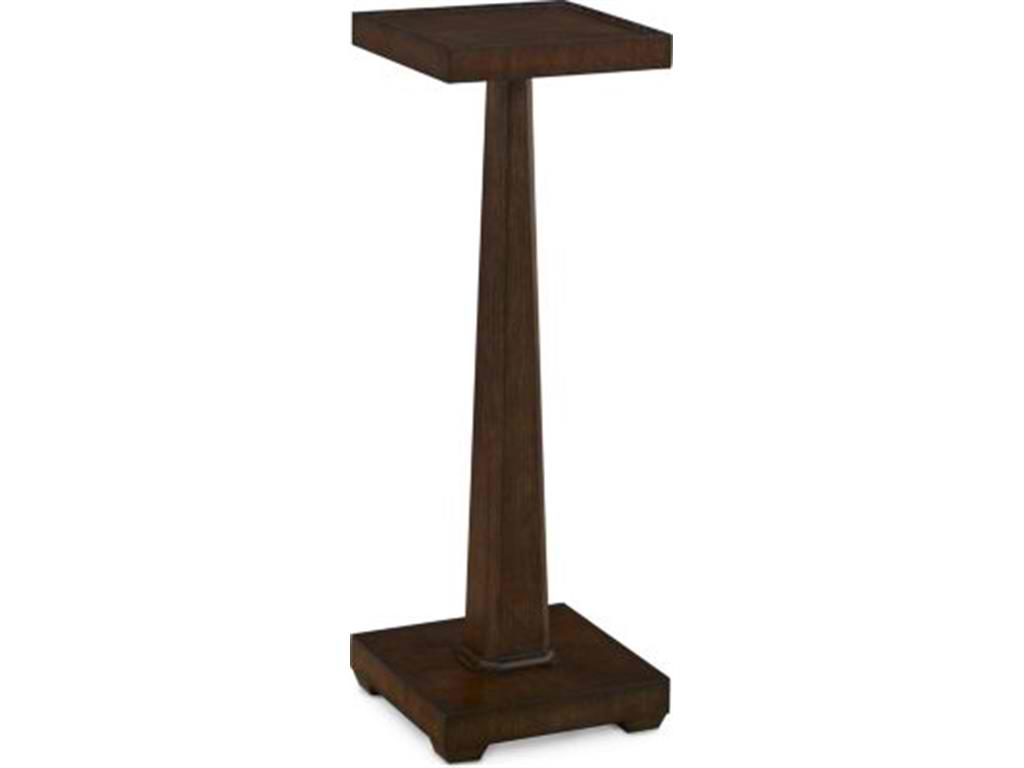
The Thomasville Living Room Donatello Petite Pedestal 83431-420 can hold your precious potted plant right by the doorstep.
Use Door Décor
As soon as your door is painted, the next best thing to do is to find a stylish décor that would complete the look. Wreaths are wonderful additions during the holidays but they can actually be sued at any time during the year.
Burlap, florals or herb wreaths can add warmth to the front door. Using pennant flags is another way to go. Have you ever tried knocking on a door using a door knocker? Then why not use it as a decorative element?
Your home’s front door is a vital part of your home. Pick the paint color to enhance the curb appeal without actually installing a new door. Put a décor or two and you’ve achieved the perfect look in no time.
Tags: door, door design, door painting, front door, front door colors, front door options, McCreerys, McCreerys Home Furnishings, painting the door
Posted in Architectural Elements, Color Schemes, Interior Design 101, Interior Design Elements | No Comments »
Wednesday, October 19th, 2016
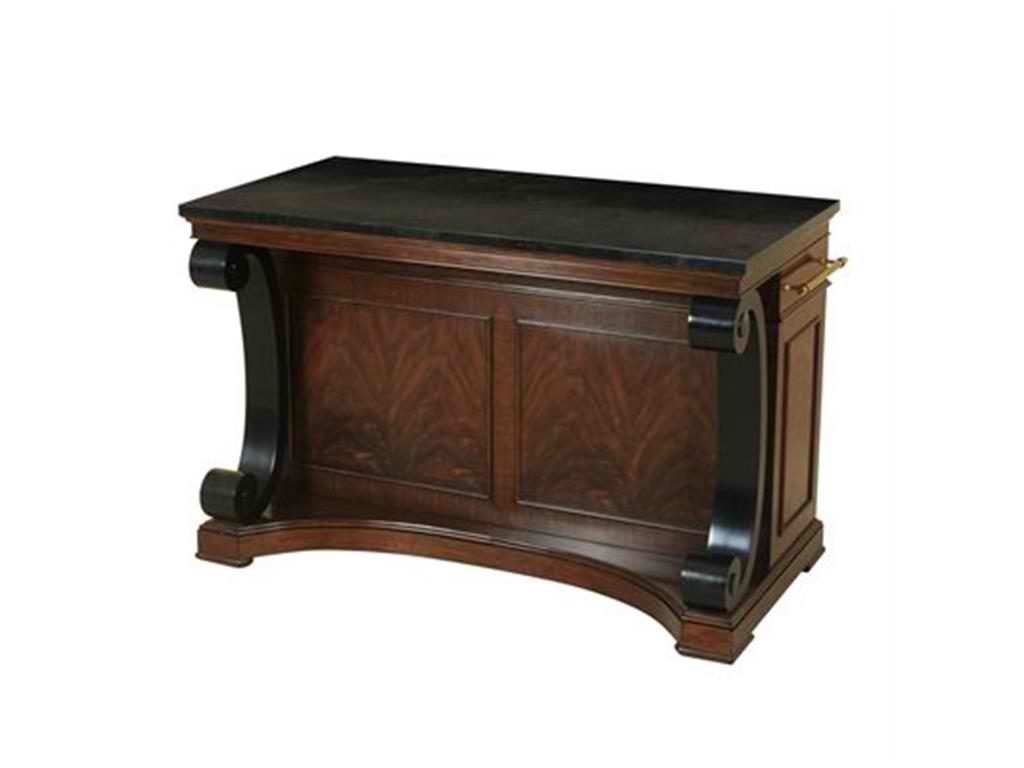
Maitland-Smith Kitchen Island 5130-649
Do you believe that countertops are the anchors or foundations of your kitchen design? This is why it is best to have one that is shiny, beautiful and clean all the time. When it comes to countertop cleanup, though, there is no one method that works for every type. This is why you need to find out which cleaning technique is suitable for your kitchen counter.
The cleaning technique that you would use to make the countertop shine depends mainly on what material it is made of. Here are some tips on what to do if your kitchen countertop is made of –
Solid Material
Solid surfaces are available in semigloss, gloss, and matte finishes. Such countertops ask for extra care. Depending on the material quality, this often costs more compared to other countertops.
For glossy, solid surfaces, you can begin cleaning by using soapy water and any ammonia-based cleaning solution. Veer away from cleaning solutions that can scratch the surface.
If you want to achieve extra shine, then be sure to clean gently using a sponge. Just do this once every month to maintain the new glossy look.
You need to increase cleaning frequency with semigloss surfaces. This time, use any abrasive cleanser and a sponge. Repeat the cleanup to achieve a higher gloss. If you’re still not satisfied with the glossy that you did using the cleanser, then it’s time to have the countertop refinished or replaced.
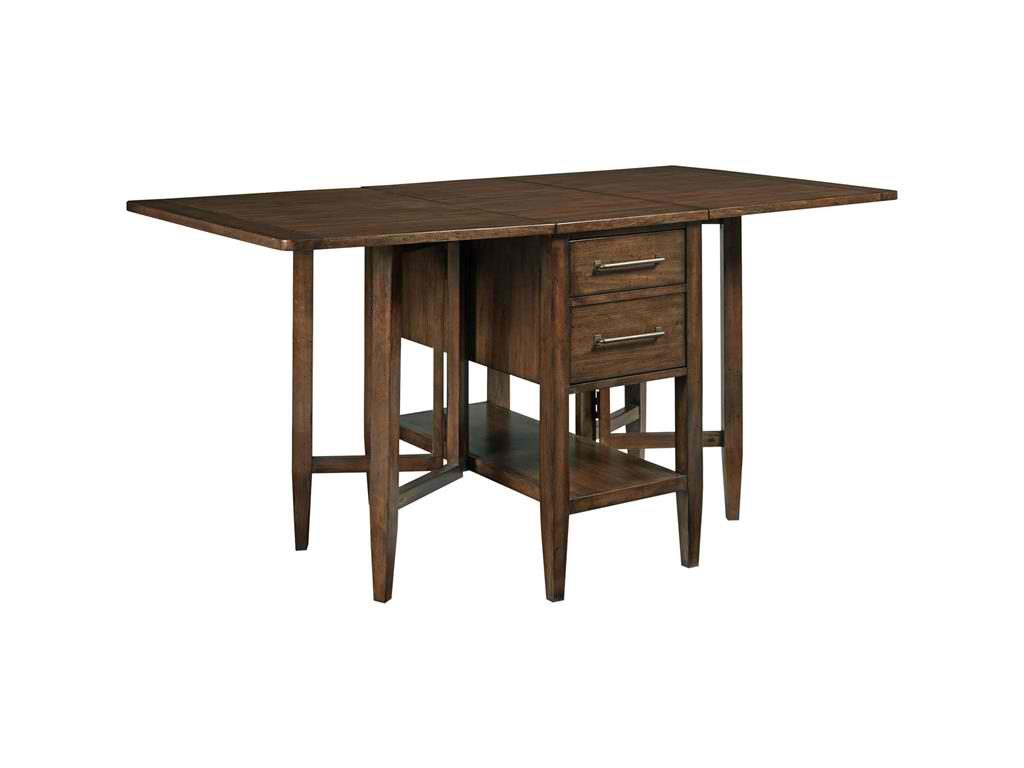
Drexel Heritage Dining Room Evolution Counter Table 640-601
Ceramic Tile
Kitchens and baths have the most popular designs for tile countertops. Keeping these clean won’t just make them look like they’re brand new but would also keep them hygienic. Microorganisms can get into the grout, a porous material.
Get rid of dirt and bacteria by wiping these countertops after each use. Use your everyday tile cleaner. Begin with the grout by using your everyday tile cleaner. Begin with the grout by using a grout cleaner.
Deep stains should be treated with the same cleaner but, this time, let it sit for 10 minutes. Find a scrub brush or toothbrush to brush the dirt away.
Deep cleaning should be done twice to three times every year.
Natural Stone
These are your granite, slate or soapstone countertop. These are not easily stained nor become breeding grounds for bacteria. Soapstone countertops do not require annual sealing unlike other natural stones. Use mineral oil by applying them on the surface. This can even help deepen the color over time.
For granite, limestone or marble, refrain from using dish soap. This tends to make these surfaces appear dull. Stay away, too, from homemade concoctions and other gentle cleaners because these won’t have any lasting effects on the surface. There are commercially available cleaners that can even restore the original shine of dull granite.
Wood
This is also known as the butcher-block style countertop. This is best used in kitchens where food preparation is heavily done. Wood is heat resistant but it is susceptible to dirt and liquids.
The best cleaning method for wood is to wash it right after using.
Making the wood appear shiny begins by using some fresh lemon. Just wipe down the countertop using a non-toxic cleaner and sponge. As soon as it’s dry, sand the surface using 120-grit sandpaper. You can then sand again with 180-grit sandpaper till the wood is finally smooth. Use food-grade mineral oil on the counters then rub using a cotton rag. Soak the wood for about 20 minutes before wiping it clean.
Achieving a shine even on old kitchen countertops can be a simple task if you know what cleaner suits which material. Use proper techniques and cleaning solutions for your counter material. When you do so, you care for it and you don’t expose it to more damage.
Tags: caring for countertops, countertop care, countertop choices, kitchen countertop, kitchen countertop materials, McCreerys, McCreerys Home Furnishings, natural stone, tips
Posted in Interior Design 101, Interior Design Elements, Kitchen Design | No Comments »
Wednesday, October 19th, 2016
FFDM Collectors Room: One of the oft-used functions for a revamped basement is as a wine storage room.
Basements can be quite complicated to work on. They are spaces that are literally begging to be used for a different purpose. The sad thing is, they often end up being the dumping ground for things that are unused or stored for future use. Are you wondering how you can convert this extra space and turn it into something useful?
There is no point in leaving the basement unused. It is a spacious part of your home that can offer a variety of functions. It can be that extra storage room, a place of relaxation or a place where your guests can have their privacy. Basement floor painting would be a simple way to begin your remodeling project. This can be done by beginners or experts, with only a day or two needed for completion.
So go ahead and gather your painting supplies and set out for an adventurous painting job –
Choosing the Basement Floor Paint
Apart from the actual painting job, it is also important to choose the right floor paint for your basement transformation. Find one that is great for concrete such as epoxy paint. This paint comes in many different colors so it is easy to find one that matches your taste.
Beige or green can easily warm up any basement. If, however, you plan to use the remodeled basement as a laundry or storage room, then soft ivory would be the perfect hue.
Find paint calculators online if you want to know how much paint you would need for the remodeling project.
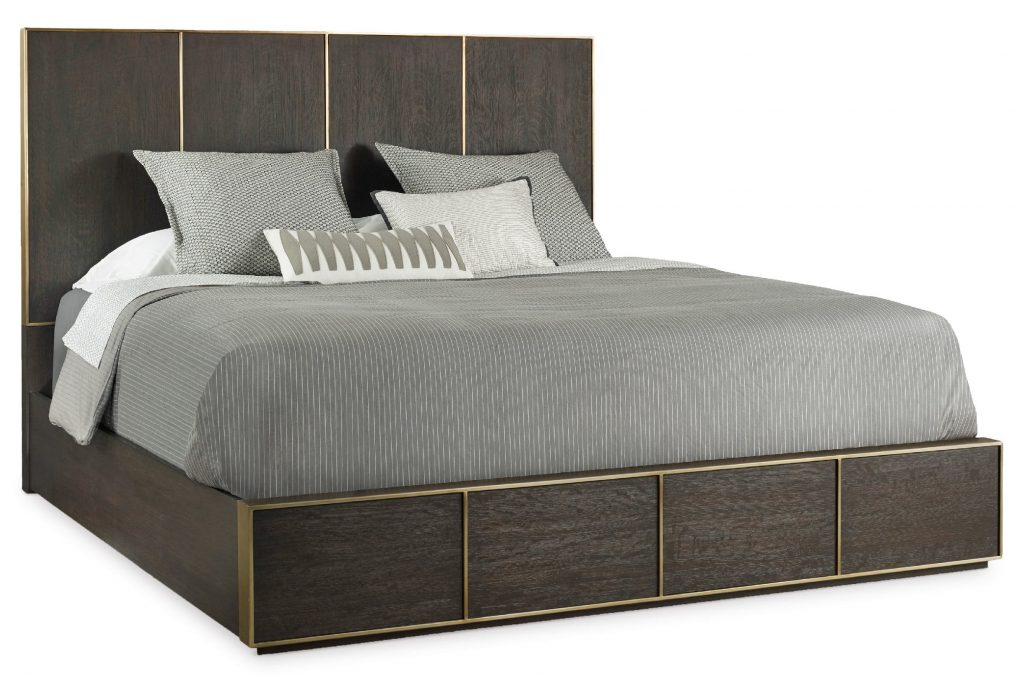
Hooker Furniture Bedroom Curata King Low Bed: A guest room in what used to be a basement? Why not?
Caution
While painting the basement floor is the easiest way to brighten or freshen up this dark space, you still need to be aware of some things prior to the painting job. Cracks and moisture should be sealed before you start. When left unsealed, these could cause the paint to peel off or crack eventually.
Another thing that you need to check is the plumbing. Find out whether the main drain for the entire house is found underground or is aboveground. If it is the former, then you can freely construct a bathroom right beside it.
The area also needs to be properly ventilated when working on this project. You might want to check paints that have less or zero VOCs (volatile organic compounds). Paint fumes can be very dangerous especially in enclosed spaces.
Materials for Painting
Check the Concrete
Check if the basement floor is made of concrete or any other material that can be painted. Be sure all areas are smooth, sealed and dried. Use sandpaper on areas that are still rough.
Prep the Basement Floor
Remove all the items off the basement floor before you begin. Wash and dry the floor; repair any damages and seal any cracks or holes; tape off areas where you don’t want paint to get splashed on.
Prime the floor using the paint roller. Be sure that this is dry before you begin applying the top coat.
As the primer has dried, you should apply the epoxy floor paint opposite the basement door. Paint around the supports and edges. Make sure that all areas are evenly painted throughout the room. Keep the strokes at the same direction.
Allow the coat to dry before applying the second coat. As soon as you’re done, be sure to take a step back to admire what you have done.
Let the paint dry for no less than a week before you replace the stuff on the floor or before you bring in the new things.
Tags: basement flooring, basement makeover, basement remodel, basement remodeling, buying painting, floor choices, floor color, floor options, floor painting, flooring, flooring finishes, McCreerys, McCreerys Home Furnishings, paint, paint choices, painting basement floor, painting the floors
Posted in Basement Design, Interior Design 101, Interior Design Elements | No Comments »
Tuesday, October 18th, 2016
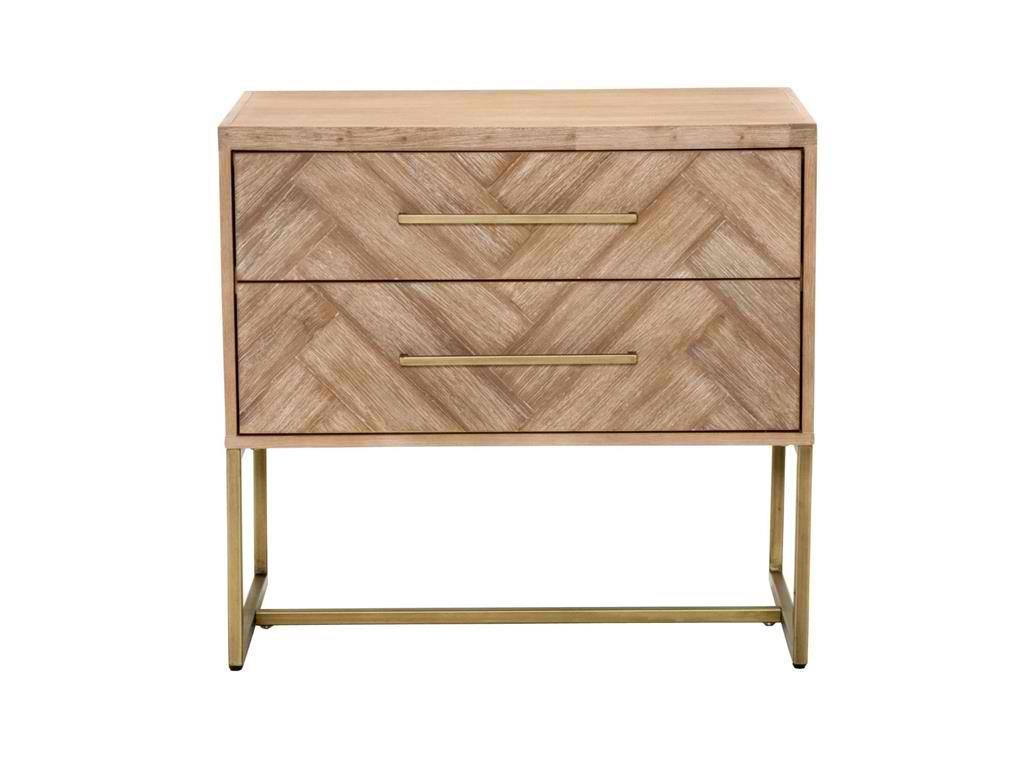
Orient Express Furniture Bedroom Mosaic Nightstand – Stone Wash 6048.SW
Are you one those people who are intimidated by mosaic tiles? This is one sad reality since these tiles are beautiful without even trying really hard. Mosaic tiles can add color and texture to any room and their design possibilities are actually limitless. All you need to do is to figure out how to use them correctly so that what you achieve is a relaxing or a vibrant ambience.
The secret to correctly using mosaic tiles is to pick the right color and size for that space that you are trying to decorate. Be able to define the purpose of the room then see how mosaic tiles can visually or functionally help.
Mosaic in the Bathroom
Don’t be afraid to have fun. Mosaic tiles are not difficult to install and they have the capacity to alter the look of a space so do not hesitate to experiment. Begin your experimentation inside the shower room. This is one room where it’s hard to go wrong when it comes to mosaic design. The tiles can add a natural feel to the space, making you feel like you’re bathing under the waterfalls. Make sure that you choose natural, stone-like colors.
The bathroom is a great place to begin playing with designs for your mosaic tiles. The tub and the wall can be set up to create a cohesive look that’s relaxing. Find the most soothing color (such as blue) that is both bold yet calming.
Add natural soaps, candles, natural flowers and a chic shower curtain and you’re almost done in that area.
Mosaic in the Kitchen
The second best place where you can play with mosaic tile design is the kitchen. This place is no less than the heart of your home so mosaic is at home here. These tiles are functional when they serve as a backsplash for your kitchen sink.
Shop for mosaic tile colors that will stand out and define the kitchen as you; fuse muted colors with the small-sized tiles to make the mosaic pattern stand out even more.
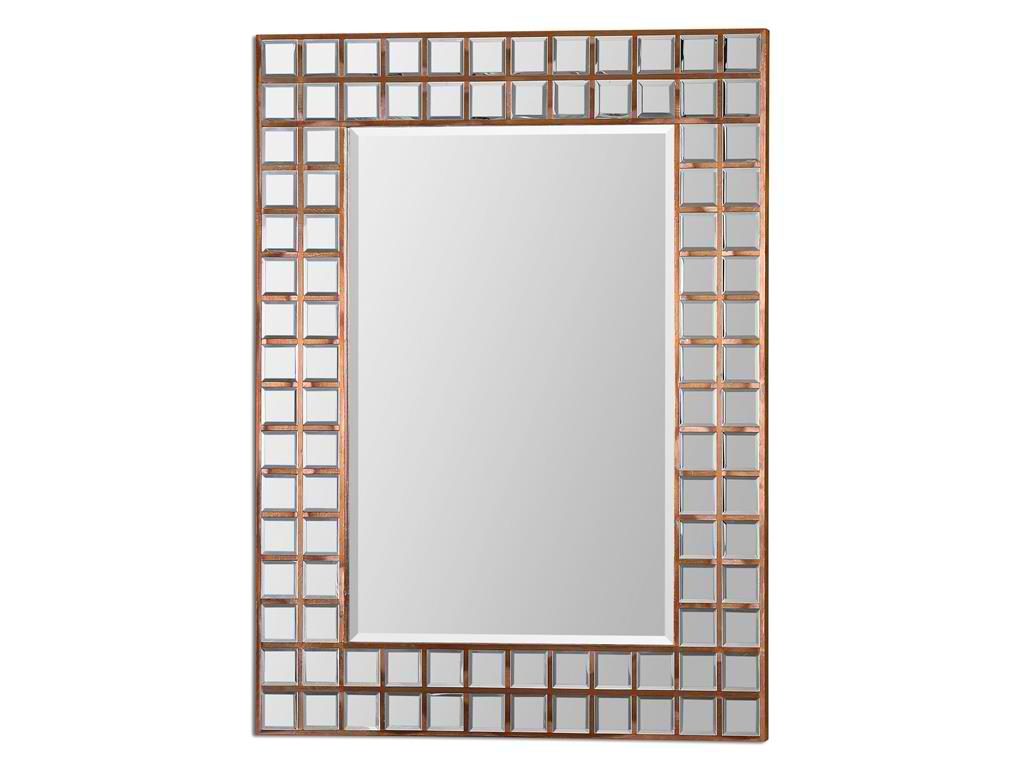
Accessories Uttermost Keely Mosaic Mirror 07063
Mosaic on the Floor
Any floor space can also be altered when you use your choice of mosaic tiles. Let people see how flamboyant and artsy you are. The tiles can be used to spruce up the bathroom or kitchen floor. Mosaic also looks great on many entryways.
You can go for the usual two-color approach or the richer and more textured look. The creation of patterns will give you the illusion of a more textured space. Just imagine the tiles on the wall then all the way down to the floor. This will surely alter your perception of the entire room.
You may also use various colors and lay the tiles out in ways that don’t spell traditional; whichever way you choose to go, whether traditional or contemporary, mosaic is your new go-to material. Veering away from the traditional patterns such as checks and grids, means achieving a look that is bold and daring, a look that is closer to the design that modern day designers would surely love.
Mosaic tiles don’t have to be overwhelming or bold all the time, though. You can still rely on this same material if you want to achieve serenity, say, in the bathroom. Of course, there are homes that are not meant for bold colors, patterns and textures. This is the kind of home where straight patterns and regular tile layouts work best. As simple as these designs may be, they are timeless so you won’t have to worry about displeasing anyone.
Bathroom and kitchen remodeling have never been this exciting before, don’t you agree?
Tags: McCreerys, McCreerys Home Furnishings, mosaic, mosaic backsplash, mosaic design, mosaic patterns, mosaic tiles, tile, tile design, tile flooring
Posted in Bathroom Design, Flooring Design, Interior Design 101, Interior Design Elements, Kitchen Design | No Comments »
Tuesday, October 18th, 2016
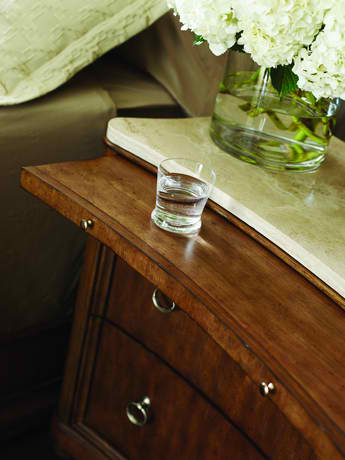
FFDM’s Sunset Canyon Collection shows the beautiful color of the fall season in this wood ensemble.
Fall is definitely here. This only means that it’s time to look into pumpkin décor, spice lattes and wonderfully warm meals. So bring out the crockpot and your designing skills (okay maybe not in that order) because it’s time to transition the look of your home.
Your home is the perfect spot to decorate using fall elements. Decorating for this season means you have to embrace warm, beautiful colors, coziness and all that these bring, without forgetting to have fun in the process.
Here are some ways that you can start fall design –
Say Goodbye to Summer Bedding
One of the quickest ways to say hello to fall is to say goodbye to the previous season. Find something warmer for your bed; look for warmer colors and warmer elements. Think of comforters, duvets, colorful pillows and blankets.
Add some rugs, romantic lighting and homey décor.
Don’t worry about making your room too dark. Use window treatments to offset the artwork, furniture and lamps that you bring in. This is also that perfect moment to paint your bedroom with a more subdued coat of paint. You will be spending more time indoors so consider painting your home with the colors that you are most comfortable with.
Beautify the Windows
It’s time to spruce up your windows especially if you want to achieve fall vibes. Use curtain walls, embellishments and drapes. Sheer can be used as an overlay. Hanging curtains crosswise can also add a different level of visual interest.
The market is filled with curtains and other window embellishments. See which ones would suit your fall design. Be mindful of the materials, color and their functions. Find warm hues like ones that mimic nature. Look for fabrics that will make the room feel homier.
Add Candles and Warm Lighting
This is the perfect season to use a lot of candles. These can become decorative elements that have the capacity to make any space look cozier. If you are a DIY enthusiast, then this is the chance to get your family together and create your own string lights and candles.
Candles are also effective mood lights. These can effortlessly improve the ambience in your home. They can also smell nice – which is like hitting two birds with one stone.
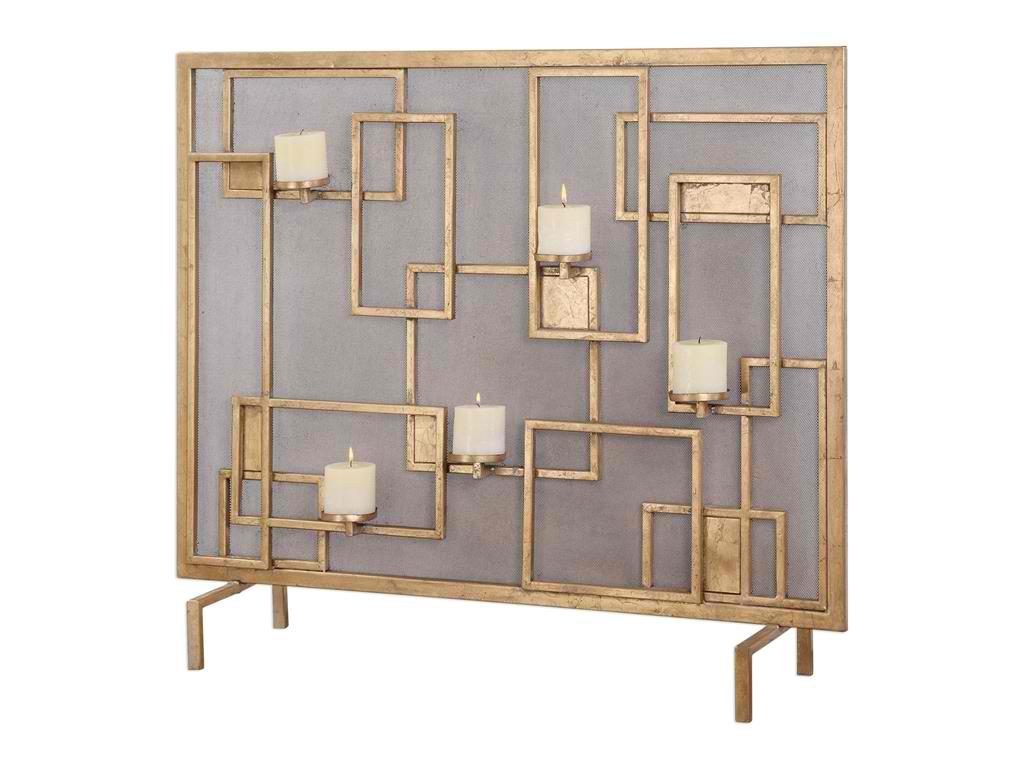
The Uttermost Dining Room Mara Fireplace Screen Candleholder 20179 is the perfect element that would cap your focal point for the living room this spring.
Extra Blankets, Pillows and Throws
Since this is the perfect time to get cozy, it’s time to check out some local shops for pillows, throws and blankets. These are your best decorative elements for this season apart from the pumpkins, wreaths, dried fruits, and other festive crafts.
Sweet-Smelling All Around
What could be more wonderful than to come home in a place that’s sweet-smelling with breads, spices and crockpot meals. Add to the holiday euphoria by putting some essential oils inside the living room, bedroom, bathroom, and just about every room in your home. Lavender is one great option to begin with. It is not just a sweet-smelling scent, it is also antiseptic and has antibacterial properties.
Yes to Area Rugs
An area rug is also an essential décor that can be added to up the level of coziness this season. It does not have to be costly or fancy. Just invest in a few rugs that can add color and comfort where they’re needed.
An area rug can also effectively warm your feet during those extra cold mornings.
Alter the Landscape
This is also the season to cozy up your backyard and patio. It’s time to swap the bright lights and water elements with festive décor and candles. Add some lovely scents, potted plants, beautiful flowers, and shrubberies.
Clay artwork as well as bright pillows may also be used to improve the outdoors during fall.
Tags: candelabra, candelabrum, decorating with candles, designing for fall, fall decor, fall design, fall interior design, fall interiors, fall preparation, holiday lighting, home lighting, McCreerys, McCreerys Home Furnishings, warm colors, warm hues
Posted in Color Schemes, Fall Season, Interior Design 101, Interior Design Themes | No Comments »
Follow us on our social media


© McCreery's Home Furnishings | All Rights Reserved | Privacy Policy
