- Follow us:


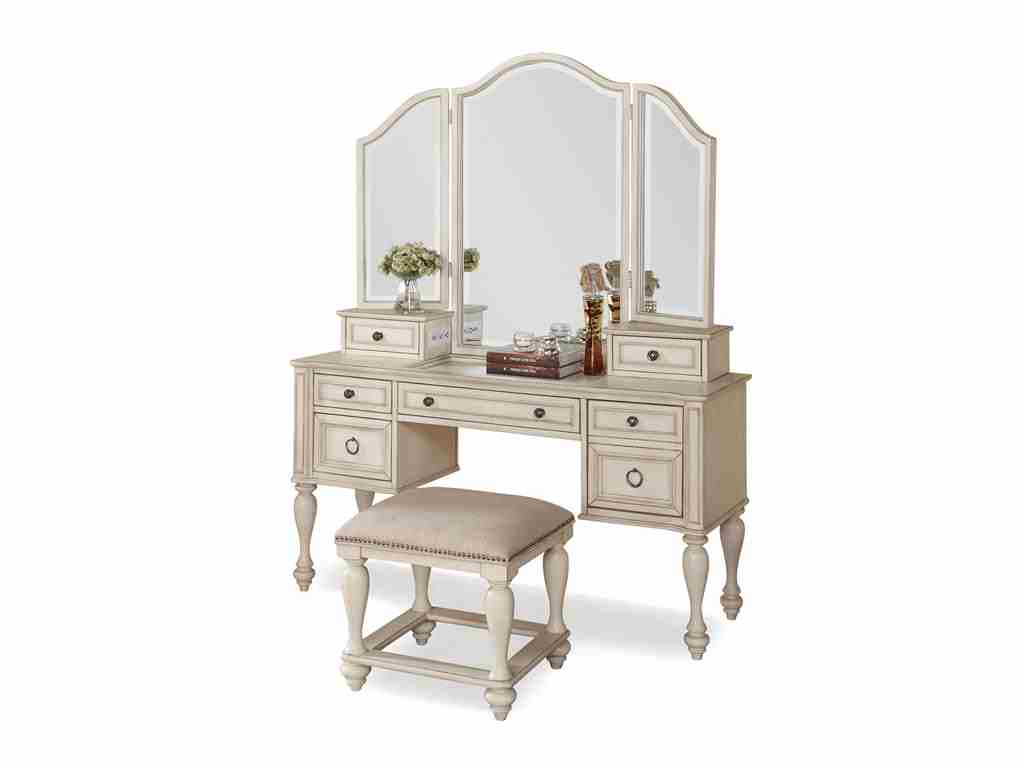
Cap the bathroom makeover with the Flexsteel Bedroom Vanity With Mirror W1861-869. Be sure to place this set in the bathroom area where there’s zero water use.
The bathroom – as opposed to common notion – should be a relaxing room in your home. If you want this to be the case for the bathrooms in your home, then be prepared to begin a makeover project. And what could be more fitting than a bathroom painting project?
Prepping the Bathroom
Preparing the bathroom for a paint job begins by cleaning the walls. There is soap scum and other substances that have surely been embedded to the walls and flooring of the bathroom.
Clean all stains from the walls by using bleach-based cleaning products. Allowing the soap scum to stay will only ruin your project. In the long run, the new paint job could easily peel off and you wouldn’t want that.
Another way to prep the bathroom for the major painting job is to remove the toilet tank. This may seemingly be a useless task to do but its removal will allow for flawless painted walls.
It is actually easy to do. That small space between the tank and the wall is difficult to reach with a brush so instead of settling for a lazy paint job, just have the tank removed and paint the walls with ease.
The seat section won’t come off, what you just need to remove in order to finish the paint job is the toilet tank. You can do this by turning off the water supply first right at the toilet base. Then, expel the water from the tank by flushing the toilet. Remove the tank using old towels all over the floor.
There you go – you’re done.
The Right Paint Color
Your best friends when you are about to paint a small bathroom are light colors. You can say goodbye to the dark colors since they will only make you feel claustrophobic. But don’t automatically resort to the white paint. There are plenty of light colors to choose from. If you wanna play safe, then go for pastels. Light yellow and light blue are also colors that will make the small bathroom appear more spacious.
If light colors are for compact bathrooms, then dark colors are welcome inside spacious bathrooms. Tiles in black, navy blue, maroon and the like would look great inside an expansive bathroom. There are also paint manufacturers that offer these chic colors.
See also if you can find paints that have mold-inhibiting agents in them. These will yield surfaces that are better resistant to moisture.

Uttermost Accessories Ginosa Mirror 08074 is a sight to behold inside your newly-painted bathroom.
The Right Sheen
A flat sheen of paint could give you less than stellar results. But if you really have to do it, make sure you use eggshell white – and none else.
Remember the soap scum that you removed earlier? Bathrooms are susceptible to such stains so choosing a flat paint would only make this problem continue.
It’s time to choose a different sheen for your bathroom paint. There are not hi-gloss and semi-gloss paints that can be easily scrubbed.
Gloss Up the Shower
Should you consider painting the shower, then do so with high gloss bathroom paint. You can also tile all the way up to your bathroom ceiling. A gallon of high gloss paint should be more than enough to cover a small shower area.
‘Time to Paint
Begin by painting the ceiling. Use a brush on the edges where the ceiling and the walls meet. Use the roller type of foam brush for the rest of the paint job.
Allow for drying time then apply a second coat of paint, first on the ceiling, then onto the walls.
Do not forget to apply primer on the walls. A dark bathroom would be in need of this especially if you want to transform it into a bright, light-colored one.
Always follow manufacturer instructions for the application and drying time.
Follow us on our social media
© McCreery's Home Furnishings | All Rights Reserved | Privacy Policy